Valentine’s Day Canvas
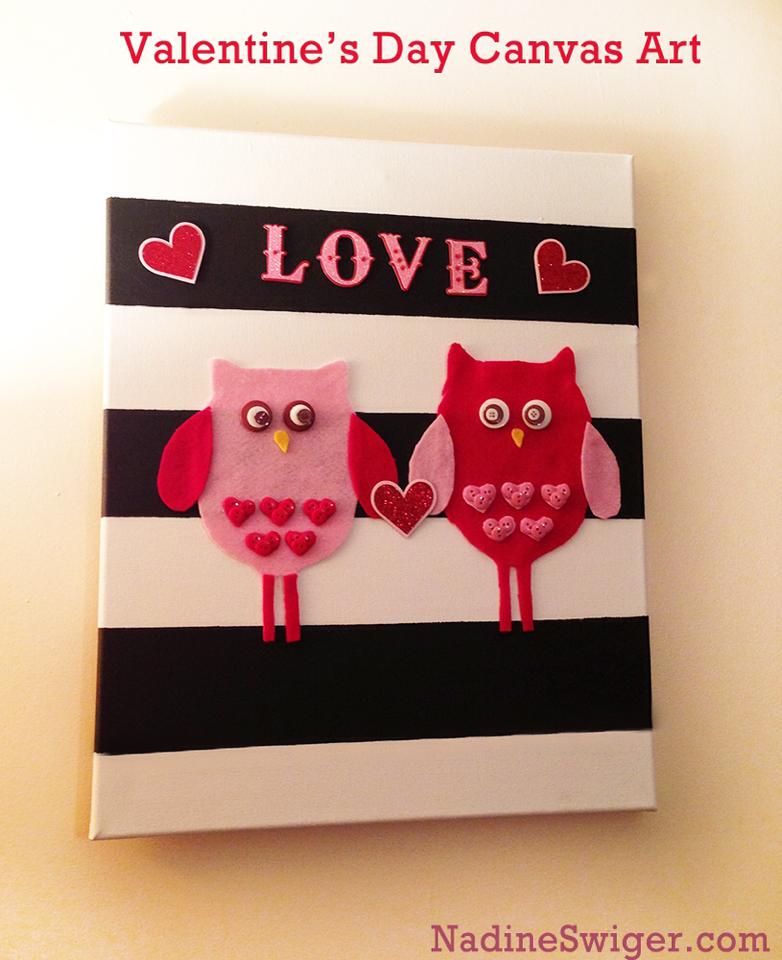
I had picked up a value pack of 5 canvas at Michael’s Art and Craft store when they were on a great sale. I originally saw this on Pinterest and thought that I just had to try it. I got together for a craft night with my sister. She decide to do a heart, I wanted to do Valentine Owls to make my other Valentine’s Day decorations. Here’s directions on how to make your own.
SUPPLIES:
1 canvas (Ours were 11″ x 14″)
1 piece of felt (Our were red and pink)
Buttons
Black Craft Paint
White Craft Paint
Painter’s Tape
Paint Brushes
Hot Glue
Pencil
Ruler
Scrap Paper (Optional)
Craft Glue (Optional)
Stickers (Optional)
DIRECTIONS:
1) We started with measuring out the stripped. We decided on how thick we wanted the stripes to be and marked it with pencil on the canvas.
2) Paint the white alternative stripes first. We painted up to the line, and then a light coat over the pencil line.
3) While paint is drying on your canvas, start to cut out your shapes in felt. We cut them out in our scrap paper first to make sure we had the size/shapes that we wanted. Then used it as a guide on our felt.
4) Plug in your hot glue gun to get it warming.
5) Check your canvas if it’s dry. If not, you can use a hair drier (keep moving the drier around, not letting any area of the canvas to get too hot). Once canvas is completely dry, tape just below the pencil line (so the pencil line will be painted with black paint).
6) Paint the black alternative lines.
7) While waiting for the black paint to dry, we started gluing our felt pieces together, situating our buttons and gluing them down.
8) Once the black paint is completely dry, remove the painter’s tape. Then position the felt pieces on where you want it to be on your canvas. You can hot glue or use craft glue to add your felt piece onto the canvas.
9) Next you can add in words or phrases. My sister painted her message on the canvas, while I had “LOVE” stickers left over from make Valentine’s Day Cards a few years ago that I thought would be perfect.
Did you try these??? How did them come out?? I’d love to hear your feed back.
_________________________________________________________________
You can see more of my pins and follow me at: www.pinterest.com/nadineswiger
OUT OF THIS WORLD ONION RINGS!!!
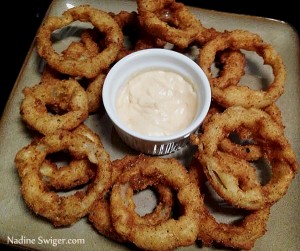
I can across this recipe for Old Fashion Onion Rings and had to pin it. They look so yummy that I just had to give it a try. These ended up being out of this world yummy! We didn’t even use the dip that I bought for them.
You can get the original recipe here.
Here’s what I used (Italic is my subsitutions):
1) Prep work first : Slice your Onions. Pre heat your oil.
* I didn’t have a frier, so I just put the oil in a saucer pan, lower to med heat.
2) You combine the flour, baking powder and salt. (I suggest a medium bowl).
3) Dip you sliced onion in the flour mix and set aside. (I used a paper plate for little clean up).
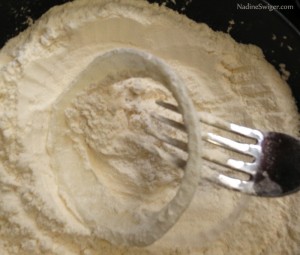
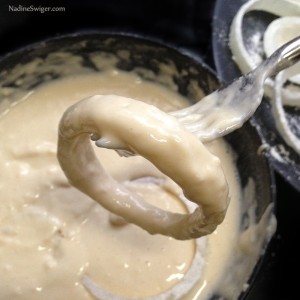
4) Once all your onions are covered in the flour mixture, you will add in the egg and the milk to form a batter.
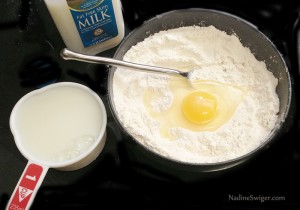
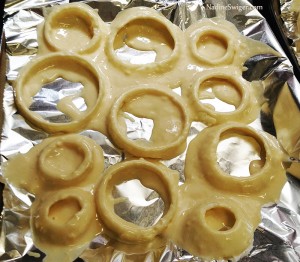
5) Dip your flour covered onions into the batter to coat. The recipe calls for them to be placed on a rack to drip extra batter. I confiscated my cooling rack a while back while making soap, so I had to skipped this step. It was messy, but I used aluminum foil to rest the batter covered onions, which made for easier clean up.
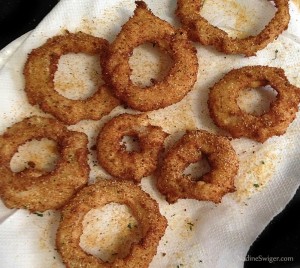
6) Have a plate ready to cool the onion rings on – I covered my plate with paper towels, so that the grease could absorb and drip into the paper towel.
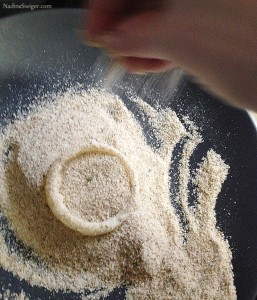
7) Spread bread crumbs on a plate. Drop the battered covered onion rings in the bread crumbs and coat completely, so no batter shows. (I coated atleasst 4 onions before placed them into the hot oil).
8.) When cooking in oil, I turned them over as soon as you see the one side turning brown. You cook on booth sides and then placed them on the plate to cool. When still hot, I sprinkled garlic powder on them to season them.
9) Serve hot. These will sure be a winner in your house hold!
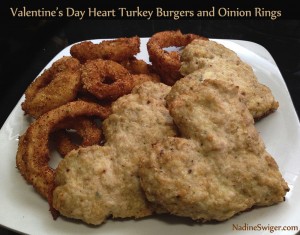
This one was a little messy to make, but soooo worth it!!! I’ve made them 2 times now – last time I served them with heart shaped Turkey Burgers for a sweet Valentine’s Lunch.
Did you try these??? How did them come out?? I’d love to hear your feed back.
_________________________________________________________________
You can see more of my pins and follow me at: www.pinterest.com/nadineswiger


